
📍 In This Article
Step 1: The ROI of Maintenance (Why Your System Needs Care)
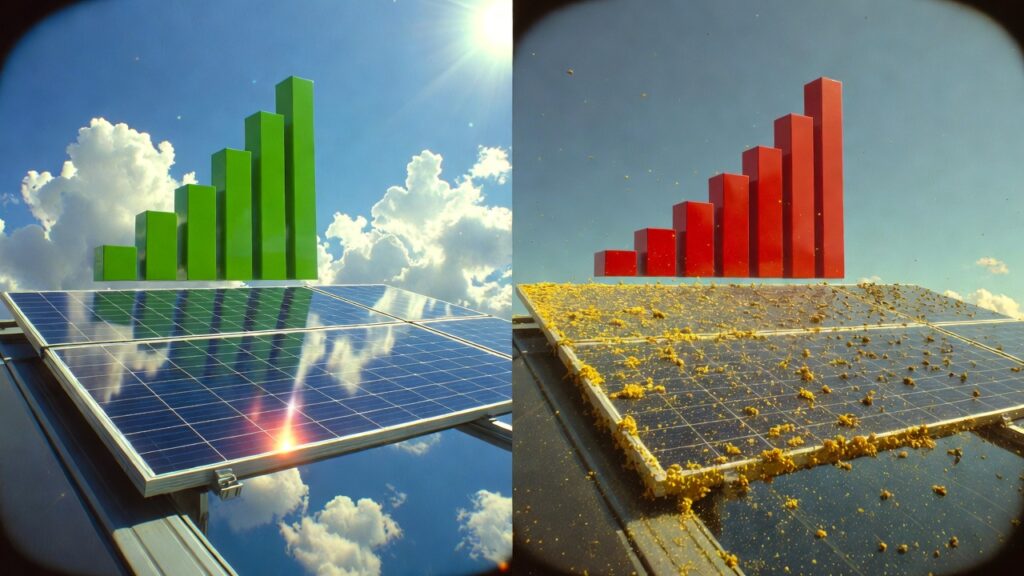
Is your solar system losing money every single day? Solar maintenance is the only way to protect your heavy financial investment. Many owners believe that solar panels are “set and forget” technology. “As a result, ignoring solar maintenance leads to massive energy production drops.”
Solar maintenance ensures that every ray of the sun converts into electricity. Without regular care, grime and dirt block the sunlight completely. This neglect causes a direct hit to your monthly savings. Solar maintenance acts like an insurance policy for your home energy. By spending a little time, you avoid huge utility bills. “Ultimately, Solar Maintenance pays for itself by maximizing your total power yield, as confirmed by performance studies from the National Renewable Energy Laboratory (NREL).”
Energy Output Comparison Table
| System Condition | Daily Output (kWh) | Monthly Savings ($) | Estimated Lifespan |
| Fully Maintained | 35 kWh | $450 | 25+ Years |
| Dusty / Dirty | 26 kWh | $335 | 20 Years |
| Heavy Neglect | 18 kWh | $230 | 15 Years |
Pro Fix: Monthly Generation Audit
To master solar maintenance, you must track your data regularly. Use this custom box to highlight this professional tip on your blog:
🛠️ Pro Fix: Check Your Reports
Log into your solar monitoring app every 30 days. Compare your current yield with last year’s data for the same month. If you see a 10% drop without cloudy weather, it is time for solar maintenance.
Did You Know?
A thin layer of dust can reduce your solar efficiency by 25%. In sandy regions, this loss happens in just two weeks!
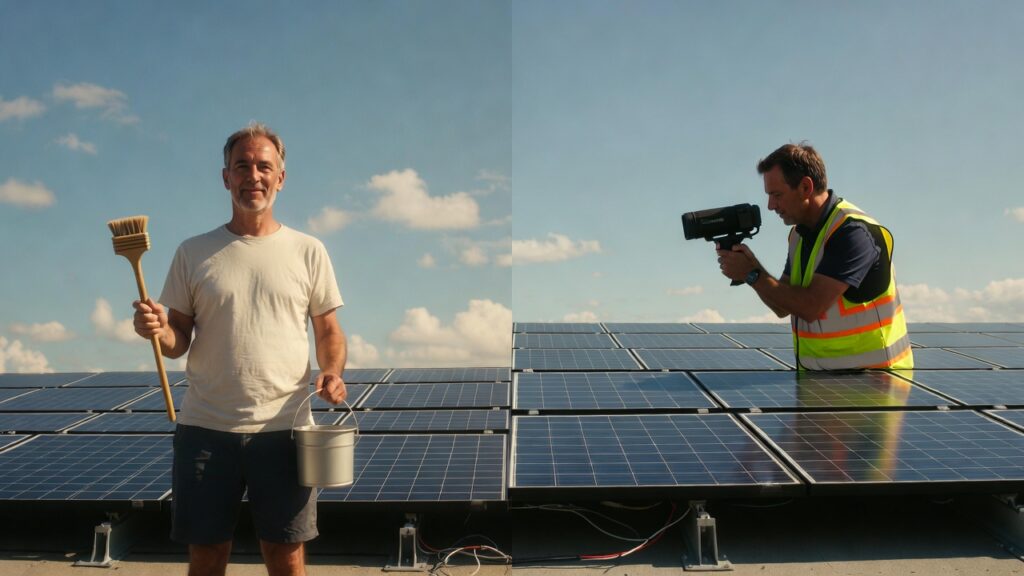
Step 2: Essential Solar Maintenance Toolkit (The Commercial Angle)
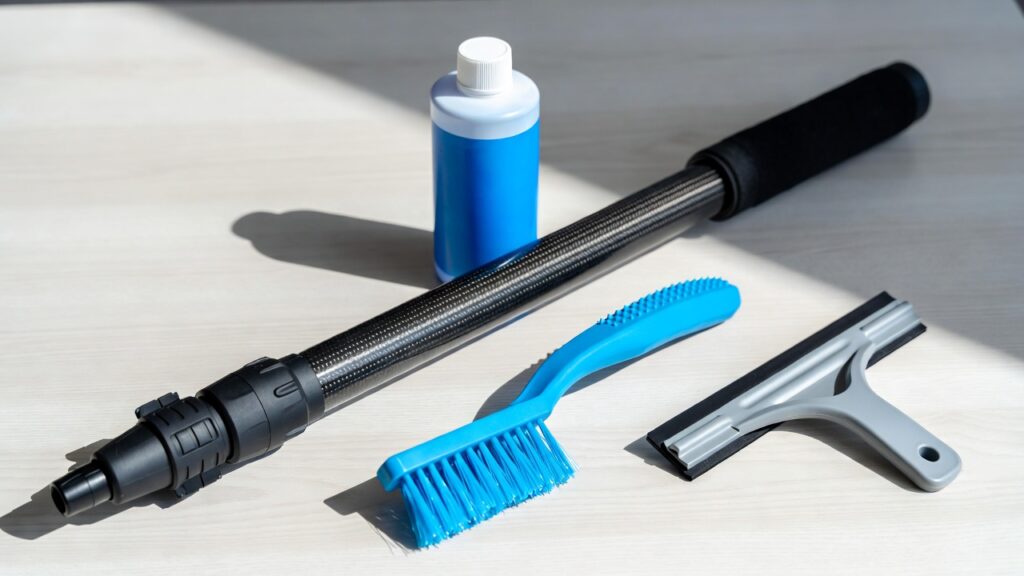
To perform professional solar maintenance, you need the right specialized tools. Using household items can damage your expensive solar investment. Therefore, investing in a dedicated solar maintenance kit is smart. High-quality tools ensure safety and maximum energy efficiency.
Proper solar maintenance requires a gentle but effective touch. You must reach the panels without scratching the protective glass. Moreover, the right liquids prevent streaking and mineral buildup. Modern solar maintenance gear is lightweight and very easy to use. By choosing the best tools, you simplify your solar maintenance routine. This setup guarantees a high return on your energy investment.
Must-Have Solar Maintenance Tools
| Tool Name | Primary Purpose | Recommended Feature | Quality Level |
| Telescopic Pole | Reaching high roofs | Carbon Fiber Material | Professional |
| Soft Bristle Brush | Removing bird droppings | Non-scratch Nylon | Essential |
| Silicone Squeegee | Drying without streaks | Double-edge Blade | High-Grade |
Pro Fix: Avoid Pressure Washers
Safe solar maintenance means avoiding high-pressure water and acidic cleaners. Use this box to warn your readers:
⚠️ Pro Fix: Gentle Care Only
Never use a pressure washer for solar maintenance. The high force can cause micro-cracks in the glass cells. Additionally, avoid dish soap or bleach. These chemicals leave a film that attracts more dust quickly.
Did You Know?
Using standard tap water for solar maintenance can be harmful. It leaves hard mineral deposits (limescale) that block sunlight permanently.
Step 3: Panel Cleaning Masterclass (Informational DIY)
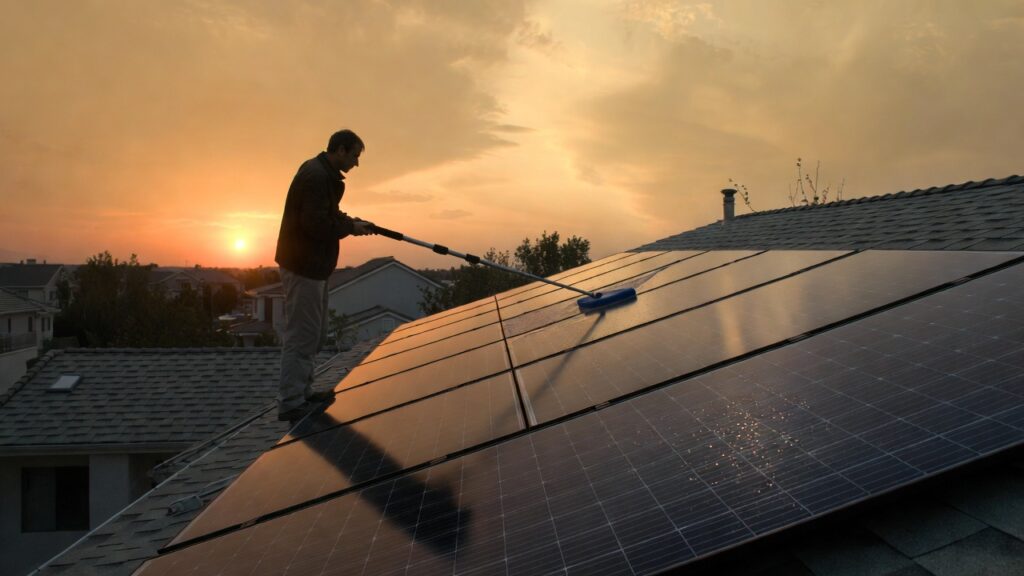
Mastering solar maintenance requires a precise, step-by-step cleaning approach. First, always disconnect the system for total safety. Next, rinse the panels with soft water to remove loose grit. This simple solar maintenance step prevents scratching the glass. Afterward, apply a specialized cleaner using a soft-bristle brush.
Consistency is the secret to successful solar maintenance routines. You must scrub gently in a circular motion. Finally, use a squeegee to prevent water spots from forming. Effective solar maintenance keeps your energy production at peak levels. Following this professional process ensures your warranty remains valid. Global readers find that DIY solar maintenance saves significant money.
Cleaning Frequency by Climate
| Climate Type | Dust Level | Recommended Frequency | Impact on Yield |
| Desert / Arid | Very High | Every 2 Weeks | 30% Increase |
| Urban / City | Medium | Every 3 Months | 15% Increase |
| Tropical / Rain | Low | Every 6 Months | 5% Increase |
Pro Fix: The Cool Surface Rule
Timing is everything when performing solar maintenance on your roof. Use this guide to avoid thermal shock:
❄️ Pro Fix: Respect the Temperature
Only perform solar maintenance at dawn or late dusk. Cold water on hot glass can cause expensive cracks. Additionally, cleaning in the midday sun causes water to evaporate too fast. This leave streaks that block light.
Did You Know?
Bird droppings are highly acidic and block individual cells. This creates “hot spots” that can permanently burn out your panel.
Step 4: Inverter Health & Diagnostics
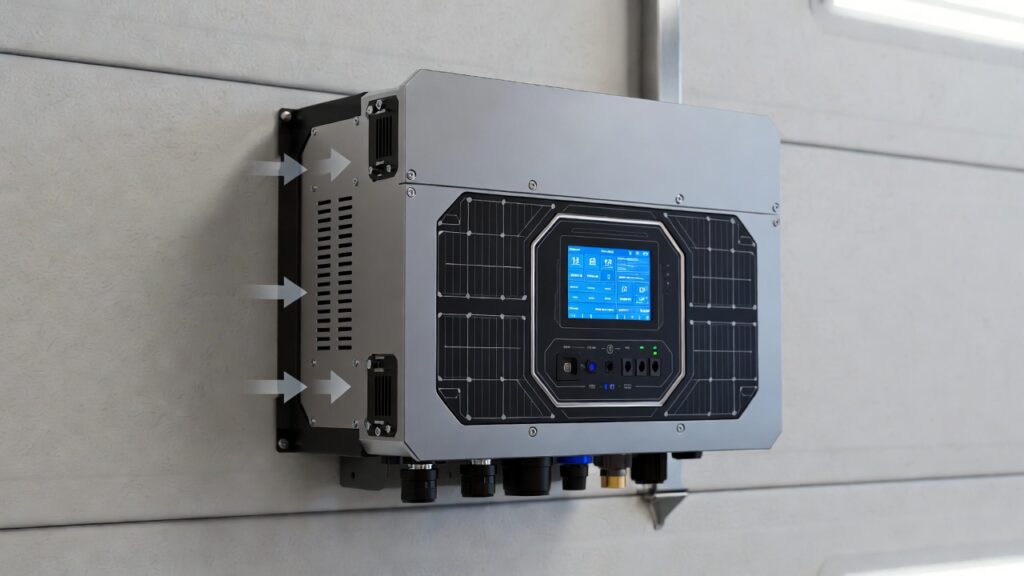
The inverter is the intelligent brain of your solar setup. Proper solar maintenance must include a regular check of this device. A faulty inverter stops all power flow to your home. Therefore, you must monitor its screen for any warning lights. Regular solar maintenance prevents small electronic glitches from becoming major failures.
Dust buildup inside the unit can cause dangerous overheating. Consequently, solar maintenance involves keeping the exterior vents clear and clean. Ensure the surrounding area has plenty of fresh air flow. Modern solar maintenance includes checking the digital performance logs weekly. Keeping the firmware updated also ensures maximum energy conversion. This step is vital for long-term system health and safety.
Common Inverter Error Codes
| Error Code | Potential Meaning | Required Action | Priority Level |
| F01 / Low Batt | Battery voltage is too low | Check battery charge levels | High |
| E04 / Over Temp | Internal temperature is too high | Clean vents and check fans | Critical |
| W12 / Grid Fail | The utility grid connection is lost | Check breakers or wait | Medium |
Pro Fix: Airflow and Fan Care
Electronic components need to stay cool to function correctly. Use this box to guide your solar maintenance for the inverter:
🌬️ Pro Fix: Boost Cooling Efficiency
Every three months, use a can of compressed air. Blow out the dust from the inverter’s side vents. While the unit is running, listen for the cooling fan. If it sounds noisy or stuck, it needs professional solar maintenance immediately.
Did You Know?
High temperatures are the #1 killer of solar inverters worldwide. Just 10 degrees of extra heat can cut their lifespan in half.
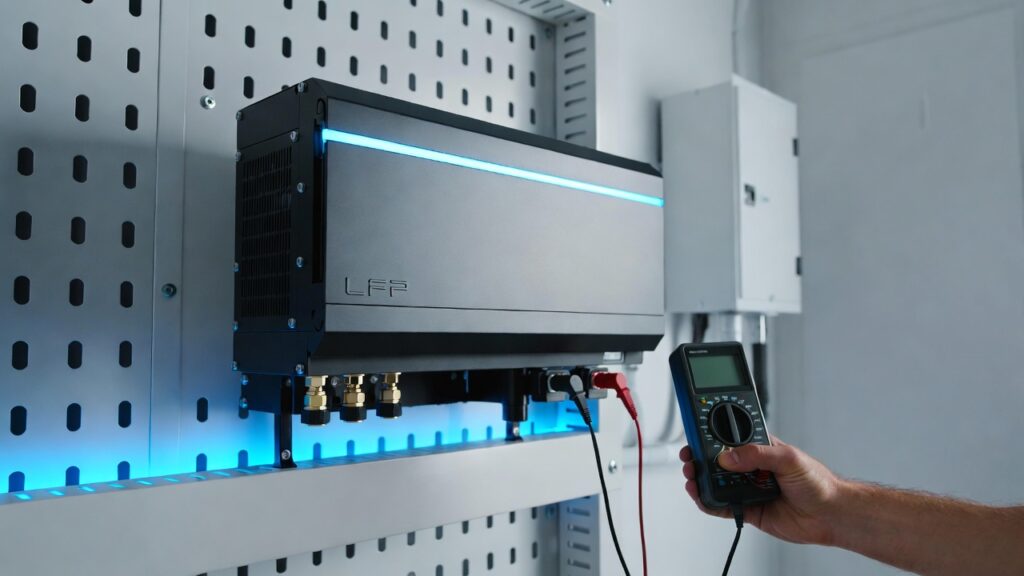
Step 5: Battery Bank Preservation (LFP & NMC Focus)
Your battery bank is the heart of off-grid living. Detailed solar maintenance ensures your energy storage lasts for decades. Modern Lithium (LFP and NMC) batteries require specific, careful handling. Unlike old lead-acid types, they need less physical watering. However, digital solar maintenance and thermal monitoring are still vital.
Temperature control is a huge part of solar maintenance for batteries. Extreme cold or heat significantly reduces their total storage capacity. Furthermore, checking physical connections prevents dangerous electrical arcing. Proper solar maintenance keeps your power flowing throughout the night. By following these steps, you protect your most expensive component. This proactive care guarantees reliable power during every grid outage.
LFP vs. Lead Acid Maintenance Comparison
| Feature | Lithium (LFP) | Lead Acid (Flooded) | Maintenance Level |
| Water Topping | Never Required | Monthly Requirement | High (Lead Acid) |
| Terminal Care | Minimal Cleaning | Frequent Scrubbing | Medium |
| Depth of Discharge | Up to 90% | Max 50% | Low (Lithium) |
Pro Fix: Terminal and Torque Check
Loose cables are a common cause of system failure. Use this box for effective solar maintenance on your battery terminals:
🔋 Pro Fix: Secure Your Connections
Twice a year, inspect battery terminals for white powdery corrosion. Clean them with a dedicated brush if necessary. Always use a torque wrench to ensure every cable is tight. Tight connections are the foundation of good solar maintenance.
Did You Know?
Keeping lithium batteries at 100% charge constantly can shorten their lifespan. Setting a 90% limit is better for long-term solar maintenance.
Step 6: Electrical Wiring & Hardware Inspection
Safety is the most critical part of solar maintenance. Damaged wires can lead to dangerous fire hazards on your roof. Therefore, you must inspect all electrical hardware every six months. Check for any signs of wear, melting, or loose connections. Professional solar maintenance ensures your home stays safe and energized.
Harsh weather can degrade wire insulation over several years. Consequently, regular solar maintenance helps identify these risks early. You should also verify that all MC4 connectors are fully sealed. Moisture inside a connector causes corrosion and significant power loss. Proper solar maintenance protects both your family and your equipment. Following a strict safety checklist is essential for every solar owner.
Wiring and Hardware Checklist
| Component | What to Look For | Risk Level | Action Required |
| MC4 Connectors | Cracks or moisture | Critical | Replace immediately |
| DC Insulation | Peeling or brittle plastic | High | Add protective conduit |
| Mounting Brackets | Loose bolts or rust | Medium | Tighten and paint |
Pro Fix: Spotting Critter Damage
Animals often hide under panels and chew on critical wiring. Use this box for effective solar maintenance against pests:
🐿️ Pro Fix: Guard Against Pests
Check for small bite marks on your cables during solar maintenance. If wires are exposed, use UV-resistant conduit to protect them. Installing “critter guards” or mesh around your panel perimeter prevents animals from nesting.
Did You Know?
Loose electrical connections generate intense heat through resistance. This heat leads to energy loss and is the #1 cause of solar fires.
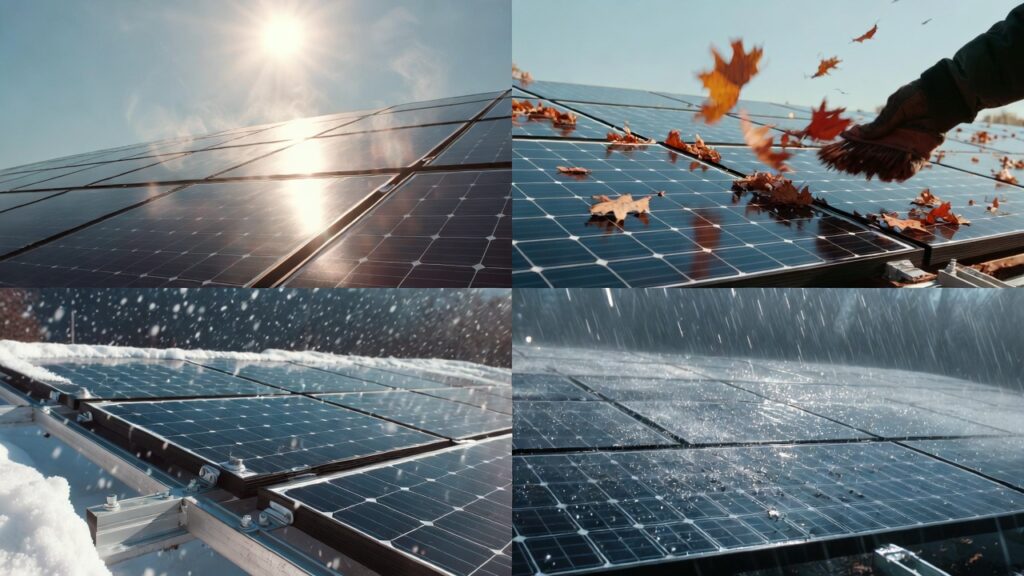
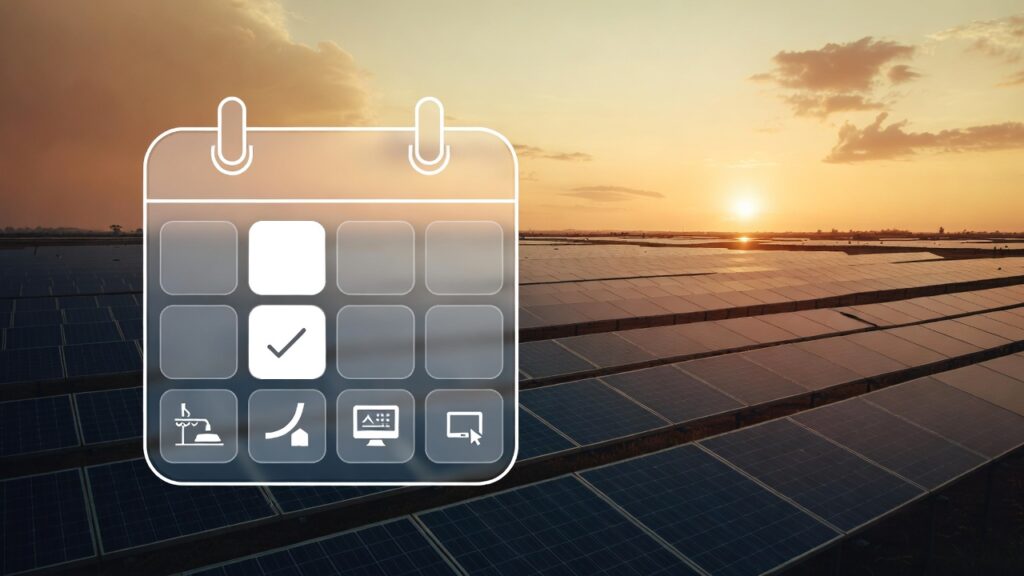
Step 7: Seasonal Maintenance Strategy
Your environment changes, so your solar maintenance must adapt to it too. Each season brings unique challenges to your energy system. Summer heat requires cooling checks to maintain peak performance. Conversely, winter brings snow that blocks sunlight entirely. Successful solar maintenance follows the natural cycle of the year.
Monsoon rains can help clean dust from your panels. However, heavy storms require a post-rain solar maintenance inspection. You must check for water ingress in all electrical boxes. Global readers should prepare a seasonal solar maintenance calendar. This proactive approach prevents weather-related downtime throughout the year. Protecting your hardware from extreme elements ensures long-term reliability.
Seasonal Maintenance Tasks Checklist
| Season | Primary Threat | Key Maintenance Task | Priority Level |
| Summer | Extreme Heat | Check Inverter Ventilation | High |
| Winter | Snow Accumulation | Safe Snow Removal | Critical |
| Monsoon | Moisture/Leaks | Seal Junction Box Checks | Medium |
Pro Fix: Optimize Your Sun Angle
The sun’s path changes between summer and winter. Use this solar maintenance trick to boost yield:
☀️ Pro Fix: Seasonal Tilt Adjustment
If you have adjustable mounts, change the angle twice a year. Tilt panels flatter in summer for the high sun. Tilt them steeper in winter to catch the low sun. This simple solar maintenance step can increase annual output by 10%.
Did You Know?
Solar panels actually work better in cold, sunny weather. High heat reduces the efficiency of the silicon cells significantly.
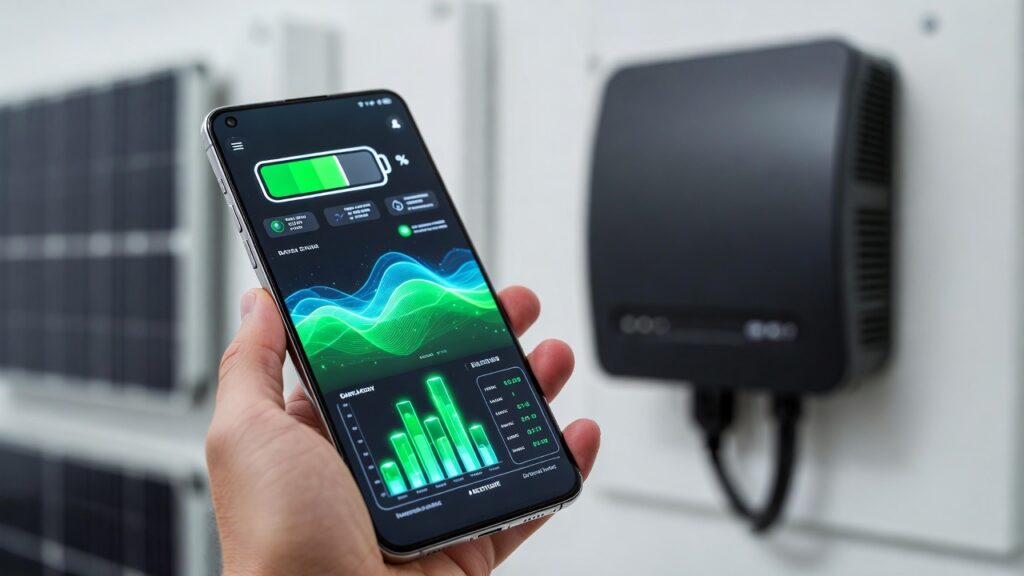
Step 8: Performance Monitoring & Software Updates
Modern solar maintenance now happens on your smartphone. Digital tools track your system health in real-time. Smart apps detect tiny drops in energy production instantly. Therefore, you must check your monitoring dashboard daily. This digital solar maintenance catches issues before they become expensive.
Software updates are also a vital part of solar maintenance. Manufacturers release firmware to improve inverter efficiency and safety. Without these updates, your hardware might underperform significantly. Professional solar maintenance combines physical cleaning with digital optimization. Using AI-driven insights helps you predict future maintenance needs. Stay connected to ensure your system remains at peak performance.
Top Solar Monitoring Apps Comparison
| App Name | Key Feature | Compatibility | User Rating |
| SolarEdge | Module-level tracking | SolarEdge Systems | 4.7 / 5 |
| Enphase App | Real-time AI alerts | Micro-inverters | 4.8 / 5 |
| FusionSolar | Smart I-V curve diagnosis | Huawei Inverters | 4.5 / 5 |
Pro Fix: Safe Firmware Updates
Updating your inverter software is critical for digital solar maintenance. Use this guide to avoid system crashes:
📲 Pro Fix: Update During Daylight
Always perform firmware updates during full sun hours. The inverter needs stable DC power for a safe solar maintenance update. Ensure your Wi-Fi signal is strong before clicking “Install.” Never turn off the main switch during the progress bar.
Did You Know?
Advanced monitoring apps can alert you to a hardware failure. Often, the app knows about the problem before you notice any power loss.
Step 9: Professional vs. DIY: The Cost Analysis
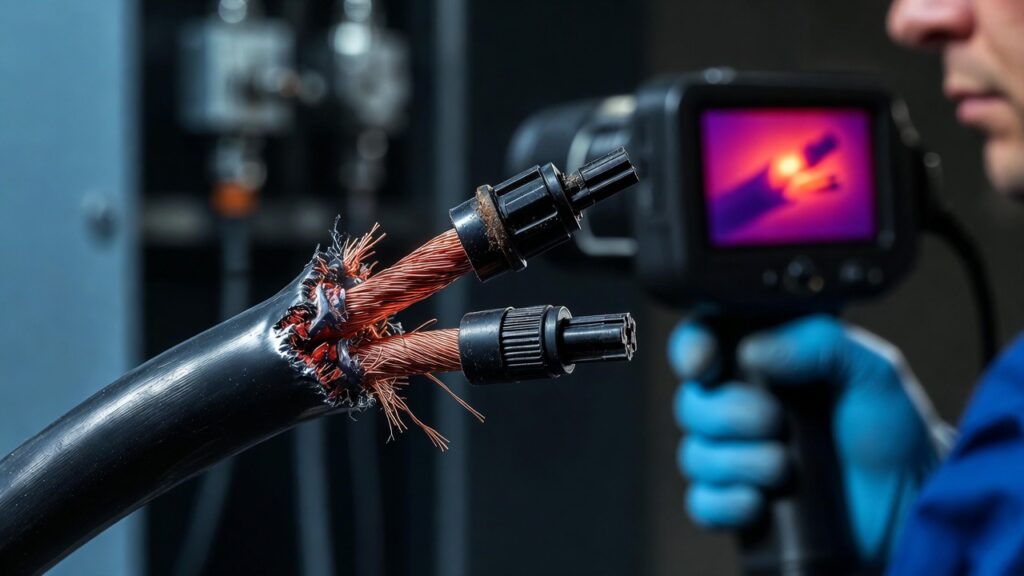
Deciding between DIY and professional solar maintenance is a financial choice. Doing it yourself saves immediate cash on labor fees. However, professional solar maintenance provides deeper technical security. Experts use specialized gear like thermal cameras to find hidden faults. Therefore, you must weigh the savings against potential risks.
For simple cleaning, DIY solar maintenance is usually sufficient. But complex electrical checks require a certified expert’s touch. Proper solar maintenance by a pro can protect your long-term warranty. They identify micro-cracks that the naked eye often misses. Investing in professional solar maintenance every two years is highly recommended. This balance ensures your system remains safe and highly efficient.
Maintenance Cost Comparison Table
| Service Type | DIY Estimated Cost | Professional Cost | Service Depth |
| Panel Cleaning | $30 (Tools) | $150 – $300 | Surface Only |
| Electrical Audit | $0 (Visual) | $200 – $500 | Full Component Test |
| Inverter Service | $10 (Air Can) | $150 – $250 | Firmware & Hardware |
Pro Fix: Finding Certified Experts
Hiring the right person is vital for high-quality solar maintenance. Use this checklist to find a pro:
🔍 Pro Fix: Verify Before You Hire
Always ask for NABCEP certification or equivalent local electrical licenses. Before starting solar maintenance, ensure they have liability insurance for roof work. Request a digital “Before and After” report with thermal photos for your records.
Did You Know?
Professional solar maintenance often includes a thermal imaging scan. This reveals “invisible” hot spots that can cause panel failure.
Step 10: Conclusion & The 20-Year Maintenance Roadmap
Consistency is the ultimate secret to successful solar maintenance over decades. You have now learned how to protect your green energy investment. Following a strict solar maintenance schedule prevents expensive hardware failures later. Your commitment today ensures free electricity for many years to come. Reliable solar maintenance is truly the key to total energy independence.
Building a long-term habit makes solar maintenance feel very easy. Small monthly checks lead to massive savings over twenty years. Always prioritize safety while performing any solar maintenance on your roof. By staying proactive, you maximize your system’s total return on investment. Share this solar maintenance knowledge with others to help the planet. Your sustainable future starts with these simple, effective care steps.”For more long-term solar research, visit the Department of Energy (DOE).“
Yearly Maintenance Schedule (12-Month Plan)
| Month / Period | Primary Focus | Specific Task | Impact Level |
| Every Month | Data Audit | Check the monitoring app for drops | Essential |
| Every 6 Months | Deep Cleaning | Wash panels and check wires | High |
| Every 12 Months | Full Inspection | Tighten bolts and update firmware | Critical |
Pro Fix: The Solar Maintenance Logbook
Keeping a physical record is vital for warranty and resale value. Use this box to start your solar maintenance journal:
📓 Pro Fix: Record Your Progress
Create a dedicated solar maintenance logbook today. Write down every cleaning date, any error codes, and your monthly yield numbers. If you ever sell your home, this record proves your system is in top condition. This can significantly increase your property’s market value.
Did You Know?
A well-maintained solar system can last 30+ years. High-quality panels often produce power long after their official warranty ends!
🤔 Frequently Asked Questions
1. How often should I clean my solar panels?
Ideally, you should clean them every 6 months. However, if you live in a dusty or high-pollen area, quarterly cleaning is recommended.
2. Can I use tap water for cleaning?
It is best to use deionized or distilled water. Tap water can leave mineral deposits (limescale) that reduce panel efficiency over time.
3. Does solar maintenance affect my warranty?
Yes. Many manufacturers require proof of regular maintenance to honor long-term hardware warranties.
📚 View Article Sources
📚 View Article Sources
-
National Renewable Energy Laboratory (NREL) – PV Reliability Data
-
Solar Energy Industries Association (SEIA) – Residential Standards
-
U.S. Department of Energy (DOE) – Solar Technologies Office
-
IEC 62446 Standards – Grid-connected PV Systems Testing
-
NABCEP – Professional Certification & Maintenance Codes
- National Renewable Energy Laboratory (NREL) – Photovoltaic Reliability Data.
- Solar Energy Industries Association (SEIA) – Residential Maintenance Standards.
- Department of Energy (DOE) – Solar Energy Technologies Office (SETO).
- IEC 62446 – International Standard for Grid-connected PV systems.